How to freeze dry fruiting 2023
Freeze drying preserves fruit without compromising quality or nutrition.
Home freeze drying is practical and affordable with basic equipment: a vacuum chamber, vacuum pump, and trays.
To freeze dry, wash and slice fruit before spreading it out on trays for optimal air circulation.
Place trays in vacuum chamber and set recommended vacuum pressure and duration.
Freeze drying takes hours and results in fruit with longer shelf life.
Store in airtight containers or vacuum-sealed bags. Rehydrate by soaking in water or enjoy as a healthy snack.

Materials and Equipment:
Fresh fruits
Cutting board and knife
Lemon juice (optional, to prevent browning)
Water
Freezer
Baking sheets or trays
Parchment paper or silicone mats
Vacuum sealer or airtight containers
Freeze dryer (available for home use or through commercial services)
Procedure :
1. Select and Prepare the Fruit:
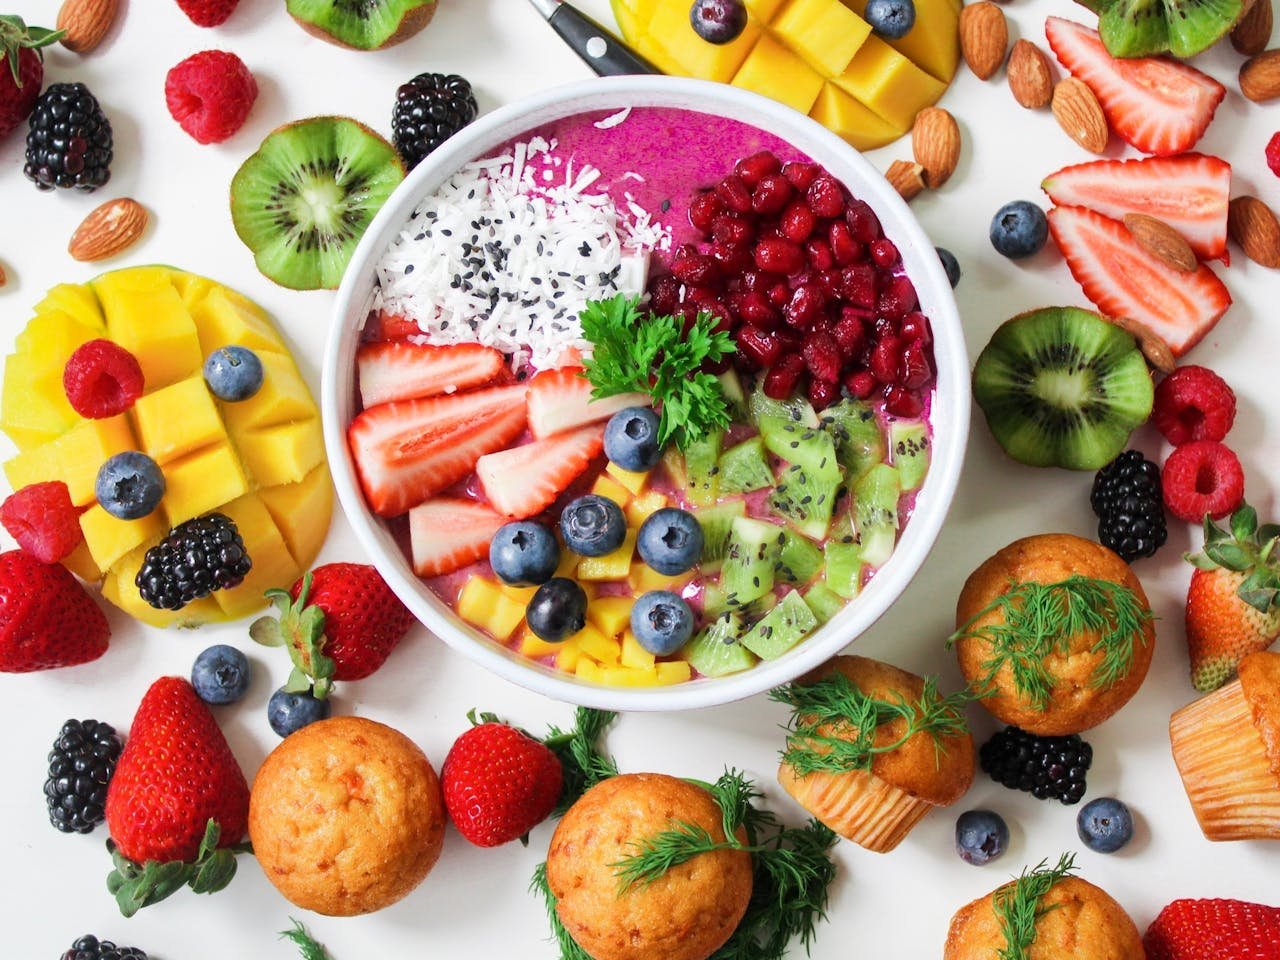
Choose fresh and ripe fruits. Common choices include berries, apples, bananas, pineapples, and more.
Wash the fruits thoroughly.
Peel and slice the fruits into small, uniform pieces. Slicing helps in reducing the drying time.
2. Pre-treatment (Optional):
Some fruits may brown during the freeze-drying process due to oxidation. To prevent this, you can soak the fruit slices in a solution of water and lemon juice for a few minutes.
3. Arrange on Trays:
Line baking sheets or trays with parchment paper or silicone mats.
Arrange the sliced fruits on the trays in a single layer, ensuring they are not touching each other. This helps in the even freezing of each piece.
4. Pre-Freeze:
Place the trays in the freezer and pre-freeze the fruit slices. This step helps in the formation of ice crystals, which is crucial for the freeze-drying process.
5. Transfer to Freeze Dryer:
Once the fruit slices are pre-frozen, transfer them to the freeze dryer. Adhere to the guidelines provided by the manufacturer for the unique specifications of your particular freeze dryer model..
6. Freeze Drying:
The freeze-drying process can take several hours or even days, depending on the type and size of the fruit.
The freeze dryer will lower the temperature, and a vacuum pump will remove the moisture in the form of vapor. This process preserves the texture, flavor, and nutritional content of the fruit.
7. Check for Dryness:
After the freeze-drying cycle is complete, check the fruit for dryness. It should be crispy and free of moisture.
8. Packaging:
Once the fruit is thoroughly freeze-dried, store it in airtight containers or vacuum-sealed bags. This helps to prevent moisture from re-entering the fruit.
9. Storage:
Store the freeze-dried fruit in a cool, dry place. Properly stored freeze-dried fruits can last for an extended period.
Remember, freeze drying at home may require specialized equipment, and it can be a time-consuming process. If you don’t have access to a freeze dryer, you might consider using a commercial freeze-drying service or purchasing freeze-dried fruits commercially.
Flash Freezing (Alternative):
10. Flash Freeze:
After pre-freezing the fruit slices in your home freezer, transfer them quickly to a single layer on a baking sheet or tray.
Place the tray in the freezer and let the fruit slices freeze as rapidly as possible. This is known as flash freezing and helps to maintain the cellular structure of the fruit.
11. Transfer to Freeze Dryer:
Once the flash freezing is complete, move the frozen fruit slices to the freeze dryer for the freeze-drying process.
Freeze Drying (Continued): Tips
Follow the same steps as mentioned earlier for freeze drying.
1. Quality of Fruits:
The quality of the fruit before freeze-drying greatly affects the end result. Use fresh, ripe fruits for the best flavor and texture.
2. Even Slices:
Slicing the fruit into uniform pieces ensures that they freeze and dry at the same rate.
3. Preventing Browning:
If you’re concerned about browning, you can use ascorbic acid or vitamin C in water as an alternative to lemon juice.
4. Storage:
Store the freeze-dried fruits in airtight containers with moisture absorbers or vacuum-sealed bags. Keep them in a cool, dark place.
5. Experiment:
Feel free to experiment with different fruits and pre-treatment methods to find the combination that suits your taste preferences.
Remember, while home freeze-drying can be a fun and rewarding process, it does require some equipment and effort. If you’re not ready for the investment, buying commercially freeze-dried fruits is a convenient alternative procedur.
Building a Freeze-Drying Routine:
Now that you’ve mastered the basics, consider incorporating freeze-drying into your regular routine. Designate specific days for freeze-drying sessions, making it a streamlined part of your culinary adventures. This routine ensures a constant supply of delectable snacks and adds a touch of efficiency to your kitchen endeavors.
Health Benefits of Freeze-Dried Fruits:
Beyond the convenience and taste, freeze-dried fruits retain a significant portion of their original nutrients.
The gentle freeze-drying process minimizes nutrient loss, making these snacks a
healthy alternative to commercially processed options. Enjoy the natural goodness of vitamins,
fiber, and antioxidants with every bite.
Hosting Freeze-Drying Parties:
Turn freeze-drying into a social event by hosting freeze-drying parties with friends or family.
Share tips, exchange recipes, and collectively experiment with new fruit combinations.
It’s a fun way to bond over a shared interest in preserving and savoring nature’s sweetness.
Documenting Your Freeze-Drying Journey:
Capture your freeze-drying adventures through photographs or videos.
Documenting each session allows you to track your progress,
learn from your experiences, and share your knowledge with others.
You might even create a freeze-drying journal, noting your favorite fruits, successful experiments,
and any challenges you’ve overcome.
Sustainable Snacking:
By freeze-drying at home, you’re contributing to a more sustainable lifestyle.
Reduce food waste by preserving excess fruits, and minimize the need for commercially packaged snacks.
As you delve deeper into the world of home freeze-drying, you’ll appreciate the eco-friendly aspect of this preservation method.
Aesthetics and Presentation:
Elevate the visual appeal of your freeze-dried fruits by considering aesthetics in your presentation.
Arrange a vibrant assortment of freeze-dried fruits in glass jars or create visually pleasing mixes for gifting.
A well-presented array of freeze-dried treats adds an artistic touch to your culinary creations.
Upcycling with Leftovers:
Don’t let overripe or slightly bruised fruits go to waste. Freeze-dry them before they reach their expiry date,
transforming what might have been discarded into delightful, crunchy snacks.
It’s a rewarding way to practice sustainability in the kitchen.
Sharing Your Knowledge:
As you become more adept at freeze-drying, share your knowledge with your community.
Host workshops or create online content detailing your freeze-drying techniques, recipes,
and tips. Your expertise might inspire others to embark on their own home freeze-drying journey.
Final Thoughts:
Congratulations! You’ve now embarked on a journey into the fascinating realm of home freeze-drying.
From selecting the finest fruits to experimenting with unique flavor combinations,
each step is a testament to your culinary prowess. Embrace the continuous learning process,
revel in the joys of creative exploration, and savor the fruits of your freeze-drying labor. Happy freeze-drying!
Share it:
- Click to share on Facebook (Opens in new window) Facebook
- Click to share on X (Opens in new window) X
- Click to email a link to a friend (Opens in new window) Email
- Click to share on LinkedIn (Opens in new window) LinkedIn
- Click to share on Reddit (Opens in new window) Reddit
- Click to share on X (Opens in new window) X
- Click to share on Tumblr (Opens in new window) Tumblr
- Click to share on Pinterest (Opens in new window) Pinterest
- Click to share on Telegram (Opens in new window) Telegram
- Click to share on Threads (Opens in new window) Threads
- Click to share on WhatsApp (Opens in new window) WhatsApp
- Click to share on Mastodon (Opens in new window) Mastodon
- Click to share on Nextdoor (Opens in new window) Nextdoor
- Click to share on Bluesky (Opens in new window) Bluesky
- Click to print (Opens in new window) Print
Related
Discover more from Advance food co
Subscribe to get the latest posts sent to your email.